Create a table
A specification table defines which information is shown for a family of products. Here is how to create one, from the name to the first attributes.
Before you start
If you haven’t yet, read the key concepts. It explains what tables, groups and attributes are, and how many tables you should create.
Open the table editor
In the app, click Specification tables in the navigation, then click Add table.
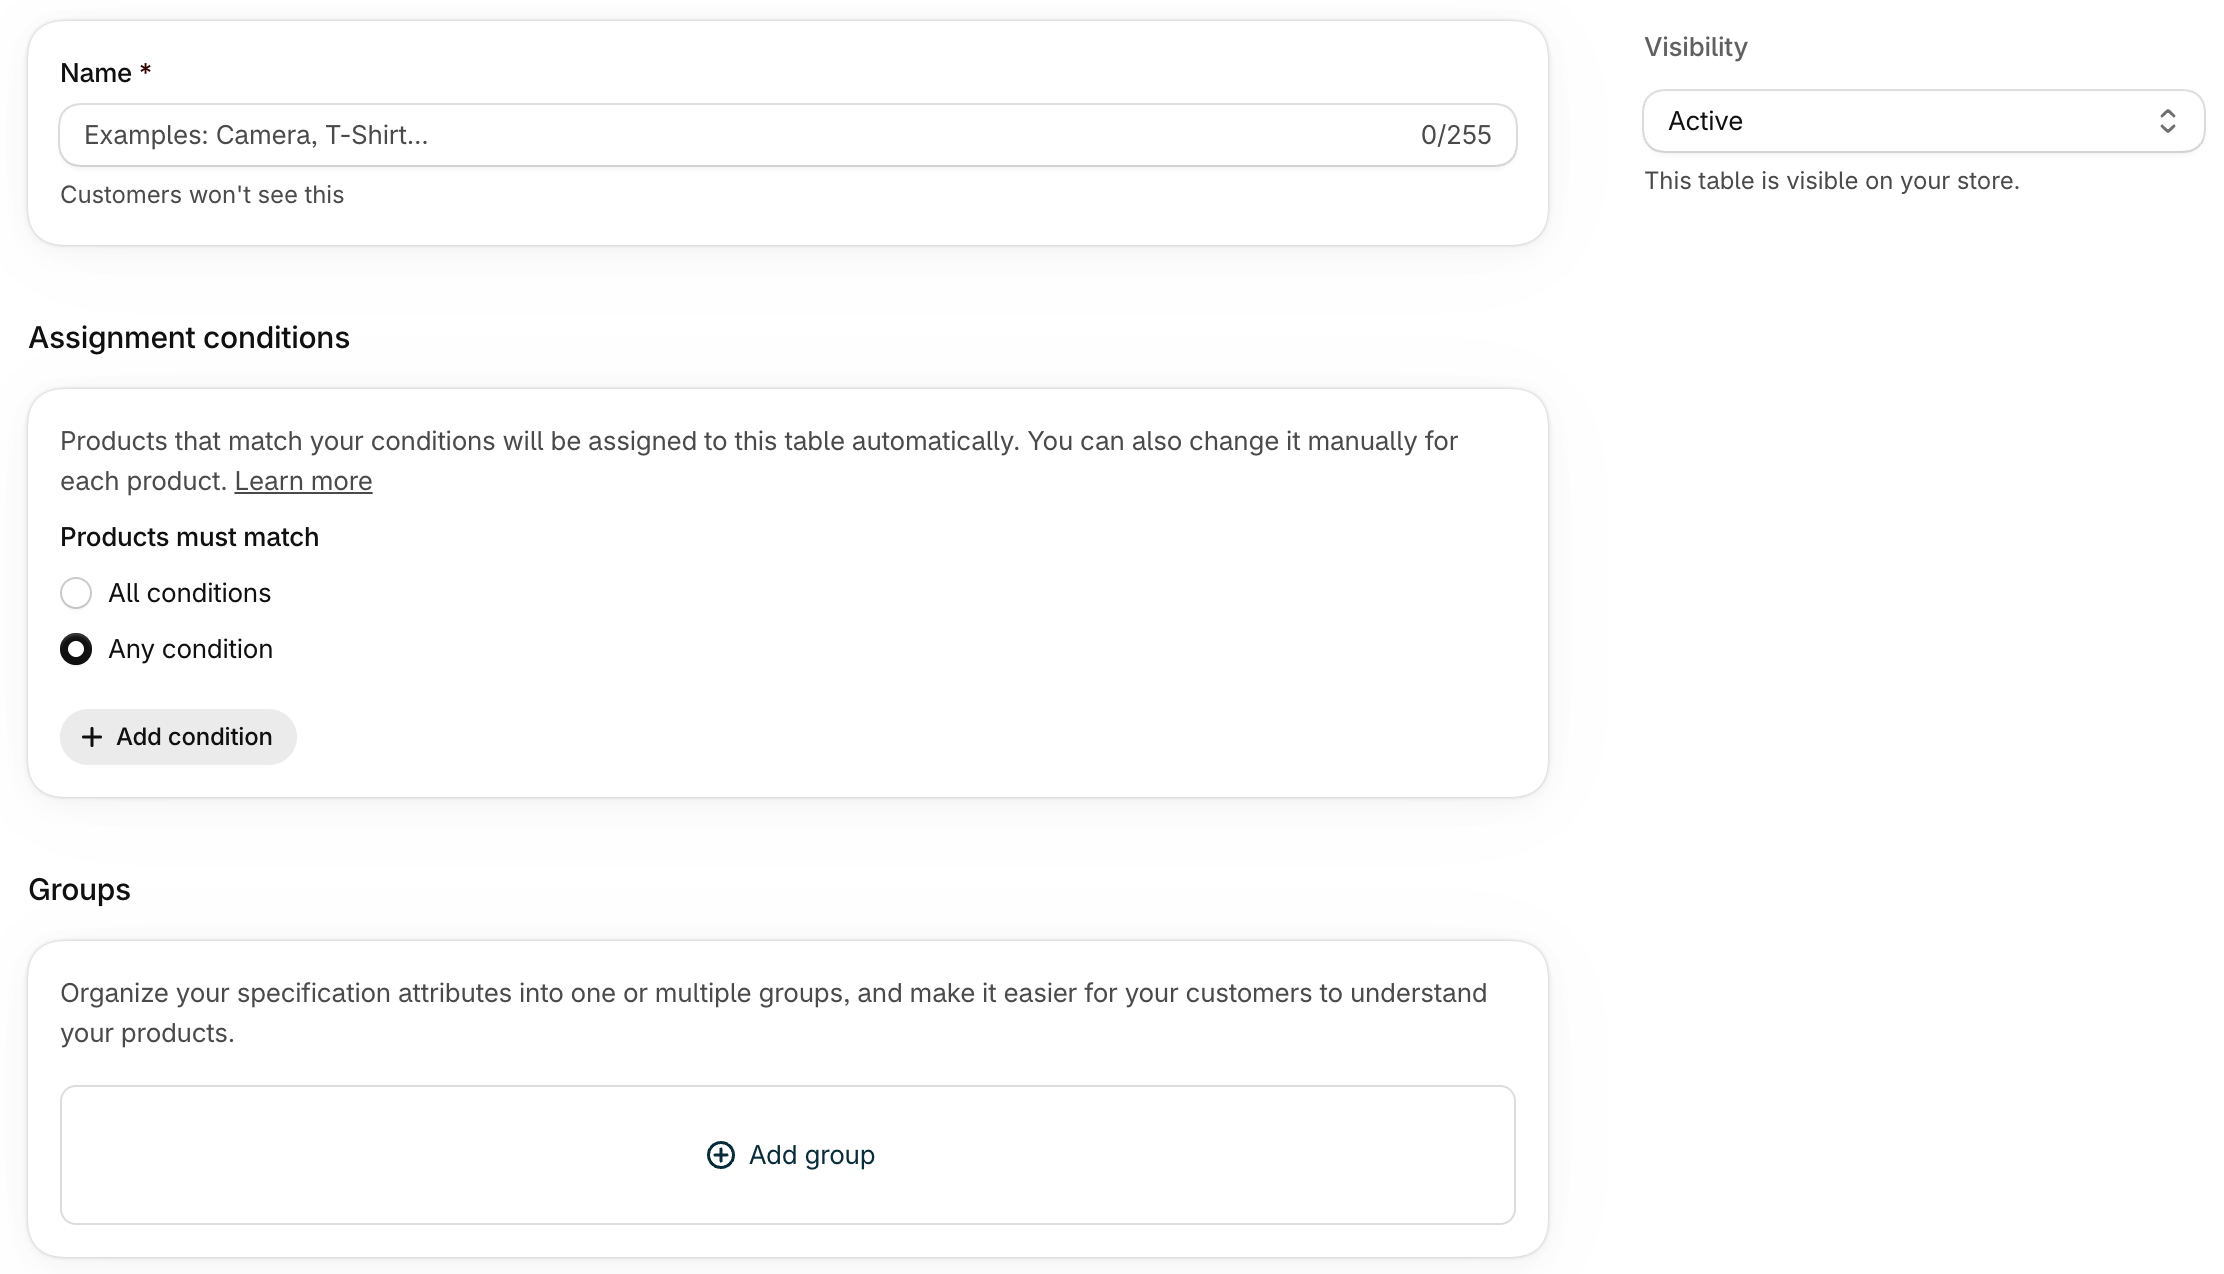
A table page is made of four cards: Name, Visibility, Assignment conditions and Groups. Your changes are saved when you click Save in the bar at the top of the page.
Name
The name helps you recognize the table in the app — customers never see it. Use a simple word that matches the kind of products, such as “TV”, “Bike” or “Washing machine”. Most of the time, it matches your product type or category.
Visibility
The Visibility card controls whether the table appears on your live store:
- Active (default): the table is visible on your online store, wherever you added the app blocks.
- Preview: the table is hidden from customers but still displayed in the theme editor. Use it to prepare a table safely before publishing it.
When a table is in preview, the theme editor shows a message reminding you that customers can’t see it yet.
Assignment conditions
Conditions let the app assign the table to products automatically — for example, every product whose category is “Headphones”. You can also leave them empty and assign the table manually to each product.
This topic has its own page: Assign tables to products.
Groups
Groups organize attributes into logical sections. A new table has no group, so start by clicking Add group in the Groups card.
Enter a name — for example “General”, “Display” or “Battery”. Group names appear on your store, and you can hide them in the theme editor if you prefer a single list.
You can then:
- rename or delete a group with the buttons next to its name,
- reorder groups by dragging them.
Deleting a group removes its attributes from the table, but the values already entered for your products are not deleted.
Attributes
Inside a group, click Add attribute. A list of attribute types appears, organized in sections — Product information, Reference, Text, Measurement, Number and Other. Use the search field to find a type quickly.
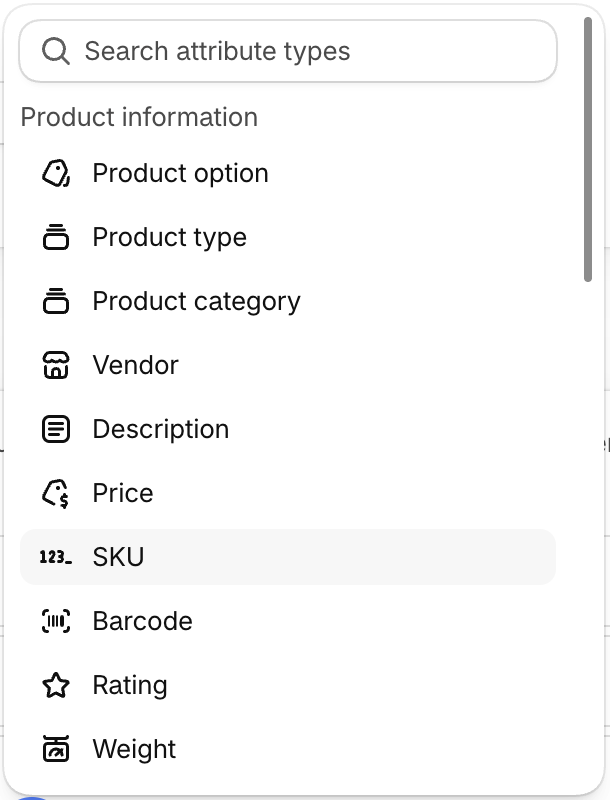
Pick a type, then fill in the attribute settings:
- Name — what customers read, e.g. “Battery life”. Keep it short.
- Tooltip (optional) — extra explanation shown behind an information icon.
- Icon (optional) — a small image displayed next to the name. A 120 × 120 px PNG or SVG works best. You can pick an image already uploaded to your store.
- Comparable — whether the attribute also appears in comparison tables.
- Additional settings depending on the type (scope, unit conversion, scale…).
The attribute types reference explains every type and setting in detail.
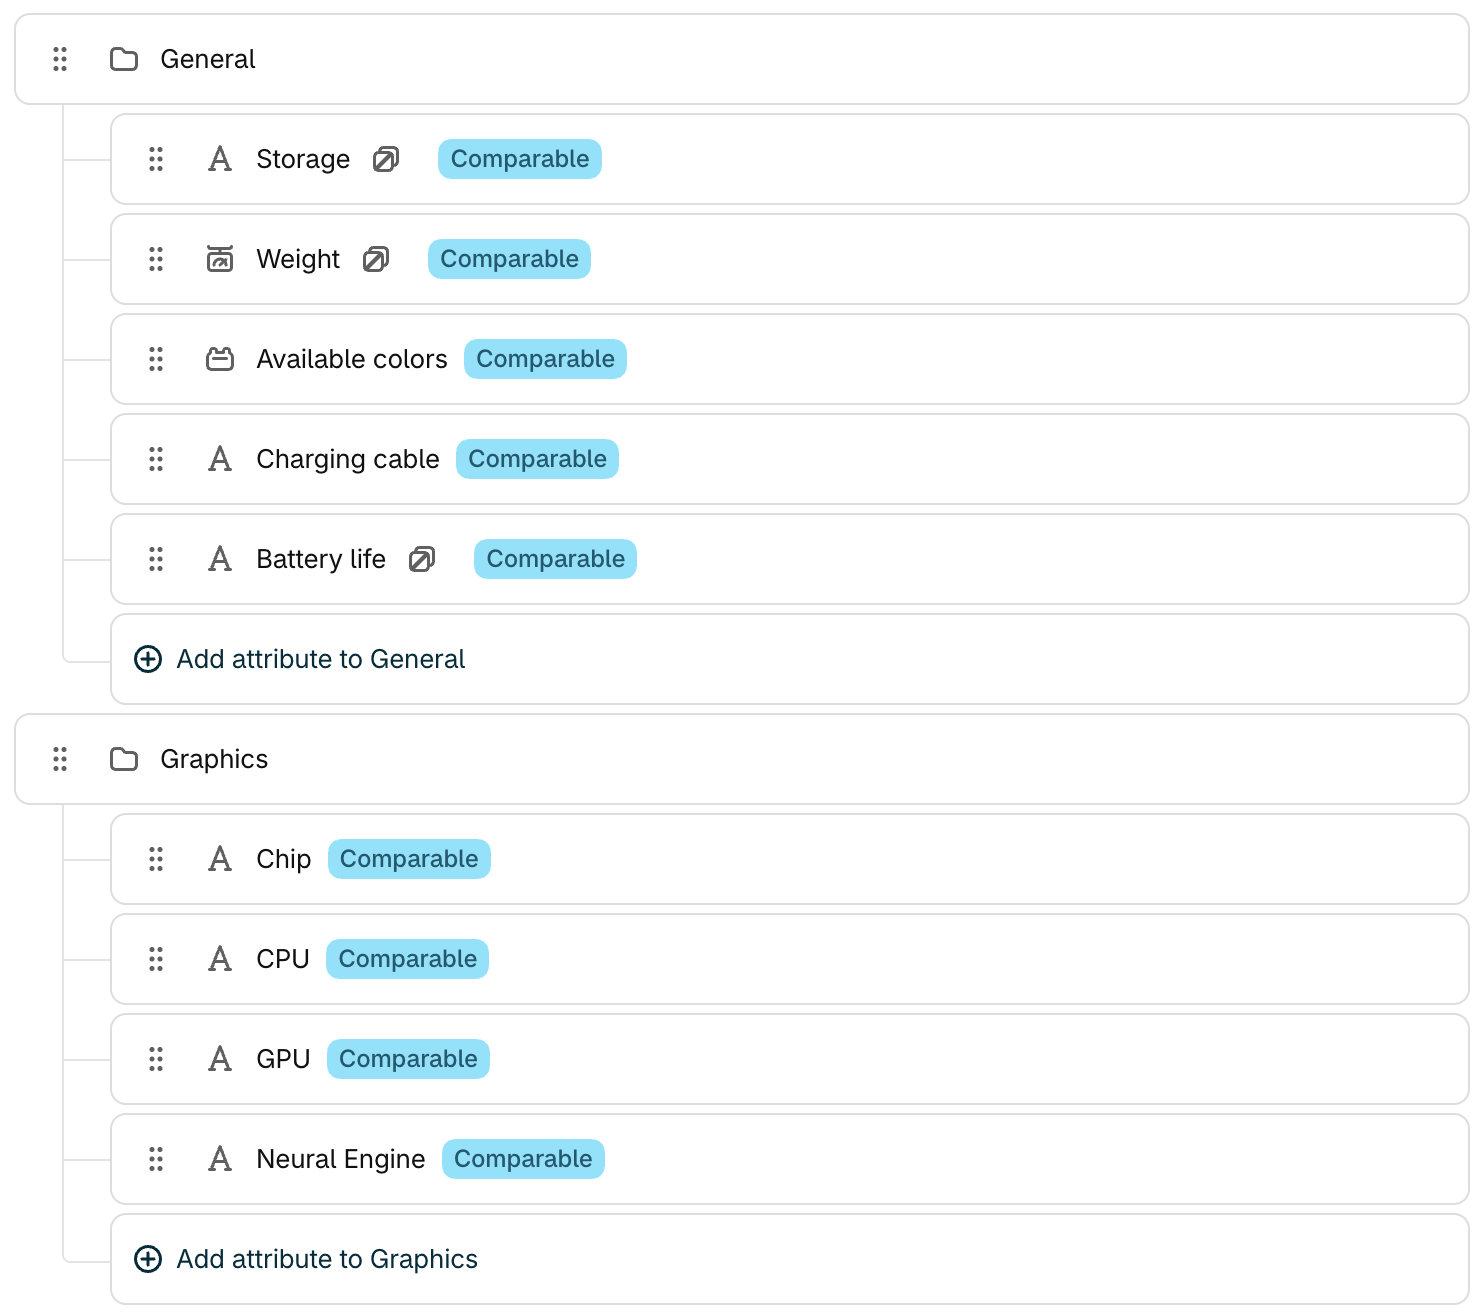
Once added, attributes can be edited, deleted and reordered by dragging them — even across groups.
Some choices are final
Once an attribute has been created, its type and its key can’t be changed. To use a different type, create a new attribute.
The scope (product or variant) can still be changed. For values managed in the app, values entered with the previous scope are kept but hidden — switch back to show them again.
Save the table
Click Save. If the table doesn’t contain any attribute yet, the app warns you that it won’t be displayed on your store until you add at least one attribute — you can save anyway and finish later.