Quick start
Follow these five steps to publish your first specification table, plus an optional sixth one to match your brand. Each step takes a few minutes and links to a detailed guide.
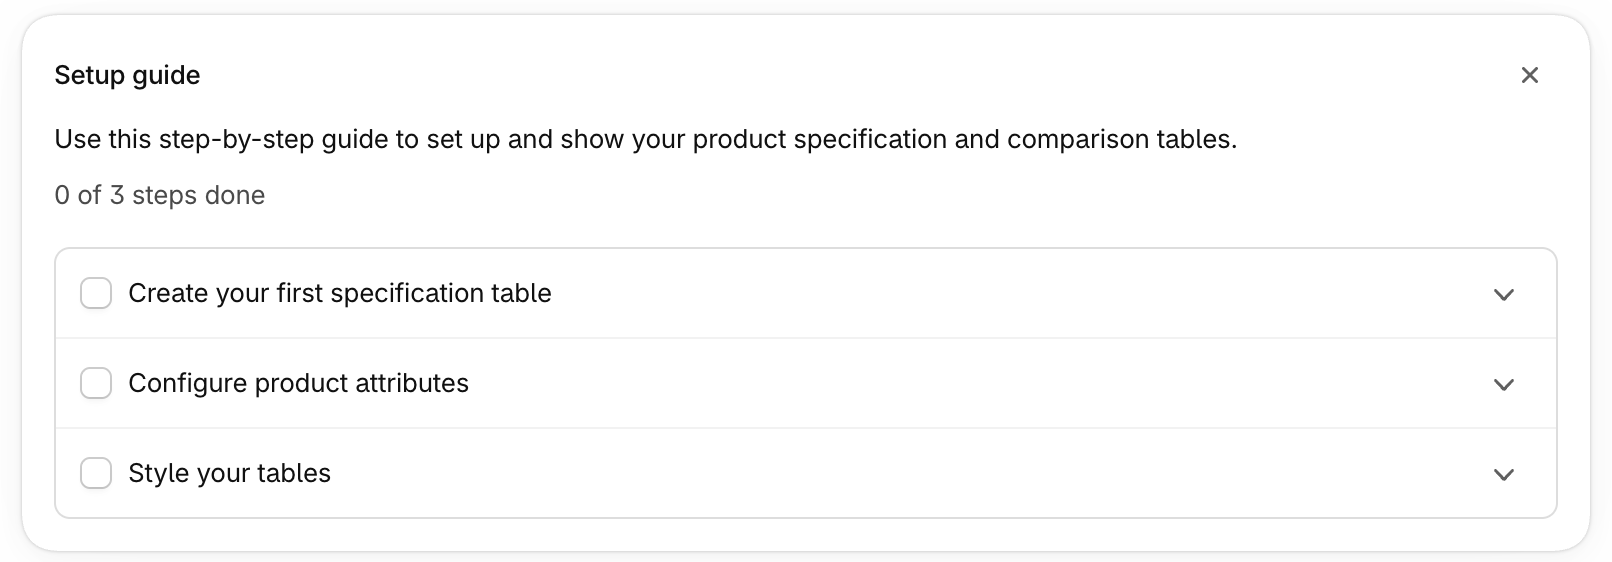
Inside the app, the Home page shows a Setup guide that follows the same path: create a table, configure your products and style your tables. Each step is marked as done automatically as you progress.
Install the app and start your free trial
Open the Specs & Compare listing on the Shopify App Store, click Install, and approve the permissions. Then choose a plan: every plan starts with a 14-day free trial, and you won’t be charged if you uninstall during the trial.
Not sure which plan to pick? Start with Starter: you can upgrade to Pro at any time from Plans in the app navigation to unlock dynamic comparison, variant comparison tables and AI buying advice. Compare plans.
Create your first specification table
A specification table is the template that lists the information you want to show for a kind of product. Create one table per main category of products you sell, such as “Headphones” or “Sofa”.
- In the app, open Specification tables and click Add table.
- Give it a name (your customers won’t see it).
- Click Add group and create a first group, for example “General”.
- Click Add attribute and choose the information to show: existing product information (price, vendor, weight…), a new custom value (text, dimension, true/false…), or an existing metafield.
- Click Save.
Assign the table to your products
Tell the app which products use this table. You have two options:
- Automatically: in the table, add assignment conditions — for example “Product category equals Headphones”. Every matching product, including future ones, gets the table.
- Manually: open a product in the Products page of the app and pick the table.
Fill in the product specifications
Open Products in the app and click a product. The attributes of its table appear, grouped the same way. Attributes that reuse existing product information (like the price) are filled in automatically — you only need to enter the others. Click Save.
To compare this product with others, choose them in the Compare with card on the same page.
Add the table to your product page
- On the app Home page, in the App extensions card, click Add block next to “Specification table”. The theme editor opens on your product template with the block already added.
- Move the block where you want it (for example below the product description) and click Save.
To show a comparison table, add the Comparison table block the same way.
Learn more about the specification table block · the comparison table block
Match your brand (optional)
Open Appearance in the app to adjust colors, borders, spacing, icons and more in a visual editor with a live preview. Your tables automatically use your theme’s fonts.