Specification tables
Creating tables
Core concepts
Before creating a specification table, make sure that you fully understand the core concepts. Learn more
To create a new specification table, open the app in your Shopify admin, and select the Specification tables category:

Then, click on the "Add specification table" button. You should see the following page:
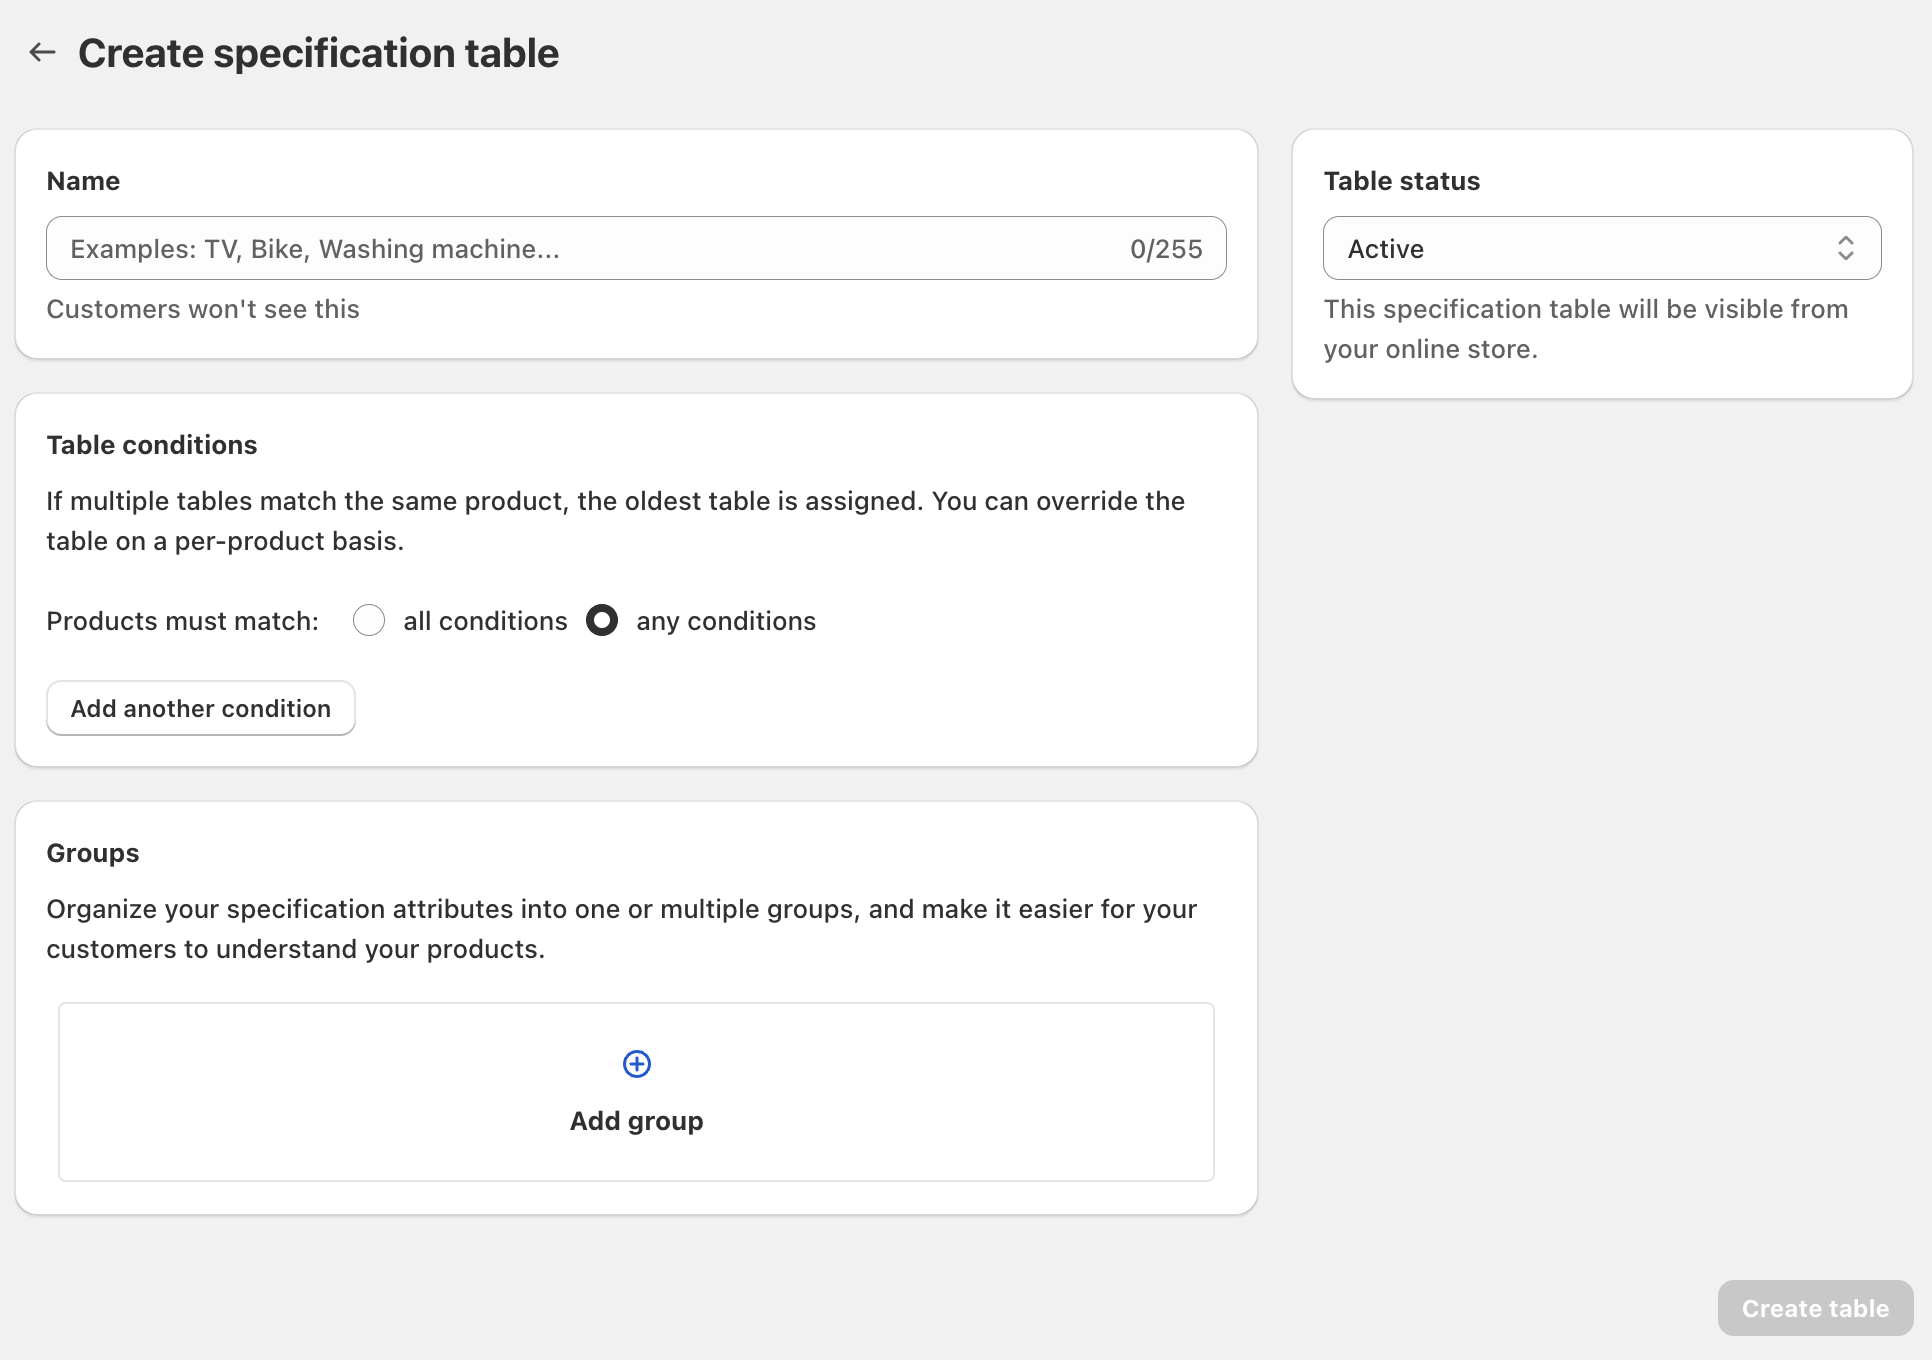
Name
The name helps you to identify your tables easily. We recommend you use a simple word, such as "Camera", or "Washing machine". Most of the time, it will match your product type.
This information won't be visible to your customers; it is internal information.
Status
When creating a new specification table, its status is set to "Active" by default. The status can accept two values:
- Active: this specification table will be visible on your Online Store if you have added the block in the theme editor.
- Preview: this specification table will be hidden from your customers, but still previewable in the Theme Editor.
Table conditions
After creating your specification tables, you need to assign them to products. There are two ways to do that:
- Manual: with manual assignment, you will need to edit the product attributes and assign the table manually. If you have a few products, this is the approach that we recommend, as it ensures that the correct table is assigned to the correct product.
- Automatic: similar to Shopify automatic collections, you can also assign tables to products automatically by using conditions.
Potential conflicts
If two or more tables match for a given product, the oldest table (by order of creation) will be assigned. We recommend that you design your conditions in a way that conflict cannot exist. You can also manually assign a table to a product, as manual assignment will always have priority over an automatic assignment.
Matching conditions
If you have more than one condition, you can instruct the app on how to apply the matching. If any conditions is selected, this means a product will be assigned to this table if at least one condition matches. If all conditions are selected, a product will be assigned only if all the conditions match.
Adding a new condition
You can add a new condition by clicking on the "Add another condition" button. As of today, the app supports three different conditions:
- Product vendor
- Product type
- Product category
- Product tags
- Collection (for instance, all products belonging to the collection "Shirts" can be assigned a specific table).
You can combine the different conditions.
Product category
Product category will only match an exact category. For instance, if your product is assigned the category "Digital camera" (child category of the "Camera" category), then the condition will only work if you explicitly select the "Digital camera" category.
Multi-languages consideration
If you set a condition based on the product type and that you translate this product type to multiple languages, the app won't be able to match a product to a table automatically except on the primary language. If your store is translated to multiple languages, we recommend using a condition type that is not impacted by translation, such as the category, tags or a collection.
Best practices
If you create complex conditions, it might be possible for a product to match two or more tables. Because the app will always assign the oldest table, this may lead to unexpected results.
As a consequence, we recommend you follow the following practices:
- Limit the number of conditions to 1
- Use an unambiguous condition (we recommend the product category because this information is guaranteed to be unique for every product)
Groups
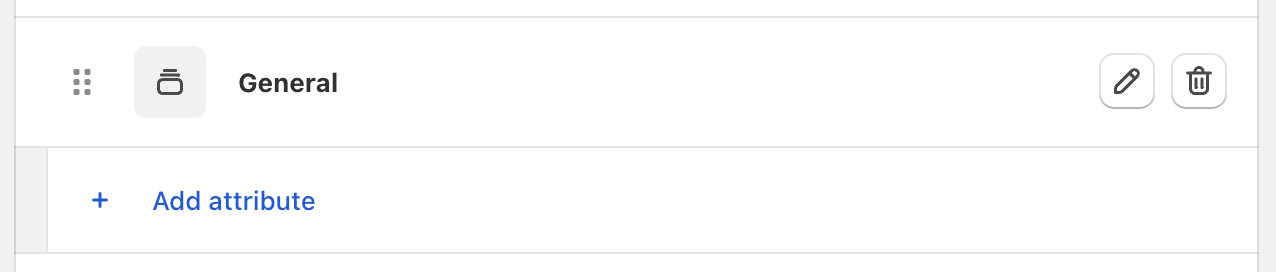
Groups allow to organize your attributes into logical units. By default, a specification table does not have any group, so you need to create one by clicking on the "Add group" button. You can, for instance, use a generic name such as "General", or provide a more meaningful name. You can always rename the group after.
Display
By default, the groups name will be visible to your customers when the table is displayed on your Online Store. You can however decide to hide the information in the theme editor.
Attributes
Once you have created a group, you can add your first attribute by clicking on the "Add attribute" button:
Specification & Compare app offers a wide range of attributes allowing you to re-use existing product information, connect existing metafields or create a new attribute that would not make sense beyond specification tables.
Attributes are separated into two main categories:
- Product information: those attributes will reuse existing product information, such as price, vendor, or rating. This means that you can show those attributes on your specification or comparison tables without entering them again.
- Custom attributes: you might have very specific information that you would like to show on your specification tables. For instance, the "volume" of a washing machine or the "ISO range" of a digital camera. Those information do not belong to basic product information.
Name and tooltip
When creating a new attribute, you need to enter a name (required) with an optional tooltip. The name is how this specific attribute will appear to your customers. We recommend you keep the name short and descriptive.
The tooltip is used to give extra information hidden by default. For instance, if you sell digital cameras, you might have an attribute called "ISO range", with a tooltip explaining how ISO range impacts image quality.
Comparable option
All attributes created will be available on specification tables. However, when comparing products, it might not always be helpful to show every attribute so that customers can compare only the most useful attributes.
When you create an attribute, you can choose whether this attribute will appear or not on comparison tables. By default, all attributes are comparable, but you can turn it off:

Comparable option can be changed even after the attribute has been created.
Attribute types
The following sections go through all the supported attributes, with extra information on how to use them in an appropriate way.
Product option
This attribute allows displaying values of a given product option. Product options are specified directly in your product to create variants. For instance, "Color", "Size" or "Material" are options often found in an e-commerce store.
With this attribute type, you also need to enter the "Option name". It must match exactly the name of your product options.
Product type
This attribute will show the product type value specified in your product information.
Product category
This attribute will show the product category translated name in your product information.
Vendor
This attribute will show the product vendor value specified in your product information.
Price
This attribute will show the product price value specified in your product information. By default, this attribute is created with the scope "variant", which means that the price will change when the variant change. If you select "product", then the app will always show the product's minimum price, independently of the selected variant.
SKU
This attribute will show the variant SKU value specified in your product information. Because SKU can only be specified by variant, the SKU will change automatically when the variant changes.
Rating
This attribute will extract the average rating for your product. In order to show the rating for your specification tables, you need to install a compatible review app.
Weight
This attribute will show the variant weight value specified in your product information. Because weight can only be specified by variant, the weight will change automatically when the variant changes.
Product collections
This attribute will show all the collections a product belongs to, and add a link to those collections.
Custom attributes
The app offers the ability to create custom attributes that will only be re-used in the context of specification tables. If you wish to create information that can be used in a different context (such as being manually connected in the theme editor), we recommend you to create metafield definitions, and connect them to a specification table.
The following attributes are currently supported:
- Single-line text
- Multi-line text
- Integer number
- Decimal number
- Color
- True/false
- Weight: this attribute can be used to add weight information that is different from the product weight. If you want to display the product weight saved in your product information, use the "Weight" product information attribute instead.
- Dimension
- Volume
- Date
- Money
We recommend that you choose the most appropriate type for the attribute specification you want to display. Please note that once an attribute has been created, you won't be able to change its type in the future.
List attributes
It is not possible to create custom list attributes inside the app. If you wish to create a list attribute (for instance, an attribute "Available colors" containing a list of colors), you must create a metafield definition instead, and connect them with the "Metafield" attribute.
The app will also allows you to choose between a product-wide attribute or per-variant attribute. Per-variant attributes must be used if the value differs for each variant of the product. When choosing per-variant attribute, you will need to fill the attribute for all variants.
It is also important to understand how variant attributes interact when being displayed in a specification table or comparison table:
- Specification table: on specification tables, the value of the selected variant will displayed. When the customer interacts with the variant picker and change the active variant, the specification table automatically re-renders to ensure that the new data is displayed.
- Comparison table: on comparison tables, only the value of the first available variant will display.
- Variant comparison table (Pro plan only): on variant comparison tables, the value of the selected variant will display.
Metafield reference
If you have product information that you have already saved as metafields, you can reuse them in your specification tables. This way, you do not have to re-enter again the same information. To do that, select the "Metafield reference" attribute type:
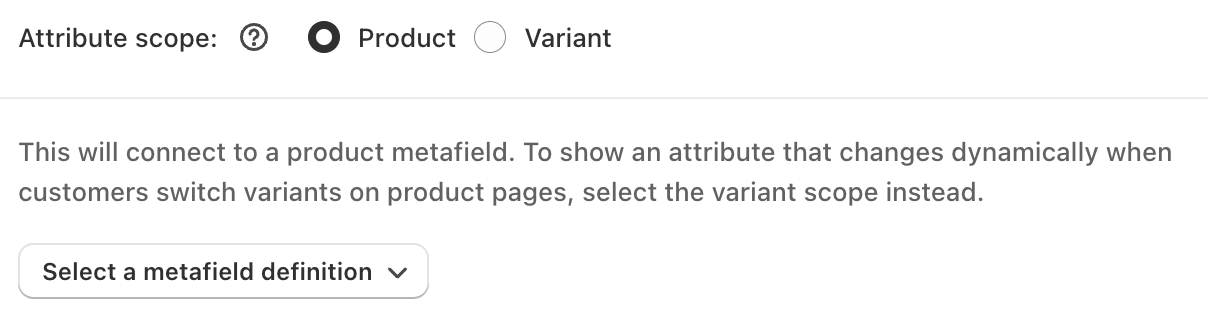
By default, the product scope is selected, which means the app will show you product metafield definitions. If you select "Variant" product scope instead, the app will show you all the variant metafield definitions. Variant metafield values will change automatically when the variant changes.
Metafield without definition
Currently, the app only allows you to connect metafields that have a definition. It is not yet possible to connect an arbitrary namespace/key metafield.
Automatic unit conversion
Limitation
This feature only works for the "dimension", "weight" and "product weight" attribute managed by the app. It doesn't support metafield references or volumes as of now.
While most countries use the metric system, some (like the US) use the imperial system. It can be difficult for users to understand values in a system they’re not familiar with. To simplify this, Specification & Compare allows you to display values in the preferred system, automatically converting them based on the customer’s country.
To enable this feature, follow these steps:
- Set up a market for the countries where you want to offer a localized experience. For example, if you sell to the US and Germany, you'll need markets for those countries. If you only have a US market, all customers will be assigned to that market, and the app won’t be able to localize for other regions Learn more about managing markets.
- Enable automatic conversion for your attributes in the specification table. By default, this feature is turned off.

Be careful
Before enabling this feature, consider whether it's appropriate for a given attribute. For instance, TV screen sizes are usually expressed in inches, even in metric-using countries.
When enabled, units will be converted before appearing in specification and comparison tables. If the customer's country uses the same system (metric or imperial), no conversion will occur.
The app will convert units to values that are easy to understand. For example:
Dimensions:
- 10 inches will be displayed as 25.4 centimeters in metric system.
- 50 feet will be displayed as 15.24 meters in metric system.
- 1 foot will be displayed as 30.48 centimeters in metric system.
- 0.5 yard will be displayed as 45.72 centimeters in metric system.
Weight (we set a threshold to 250g to show onces):
- 100 g will be displayed as 3.52 oz
- 300 g will be displayed as 0.66 lb in imperial system.
- 4 lb will be displayed as 1.81 kg in metric system.
- 0.6 lb will be displayed as 0.27 kg in metric system.
Value rounding
The app rounds values, which may result in slight approximations. You also can’t control the final unit used in the conversion. For precise control, we recommend using the Shopify Translate & Adapt app to manually adjust each value.
Difference between attributes and metafields
While creating attributes inside the app, you might find similarities between the metafields you create in Shopify admin. And for a good reason: for performance reasons, attributes are backed as metafields. The app also allows you to connect existing metafields as specification attributes.
The main difference is how you are using those. Some information is specification attributes and has little meaning outside a specification table. To avoid cluttering product pages in Shopify admin with a ton of attributes, managing them in Specification & Compare app (an app specialized for managing specification tables), you can group-related information more logically.
When deciding whether to manage an attribute inside the app or as an external metafield that you connect in the app, you should ask yourself the following question:
- If you would like to reuse a given information outside a specification table (for instance, connecting it in the theme editor to display the information in a different section): you should create a metafield definition in Shopify admin, and connect it to the app.
- If the information is an information that makes no sense to be displayed outside a specification/comparison table, create it as a table attribute.